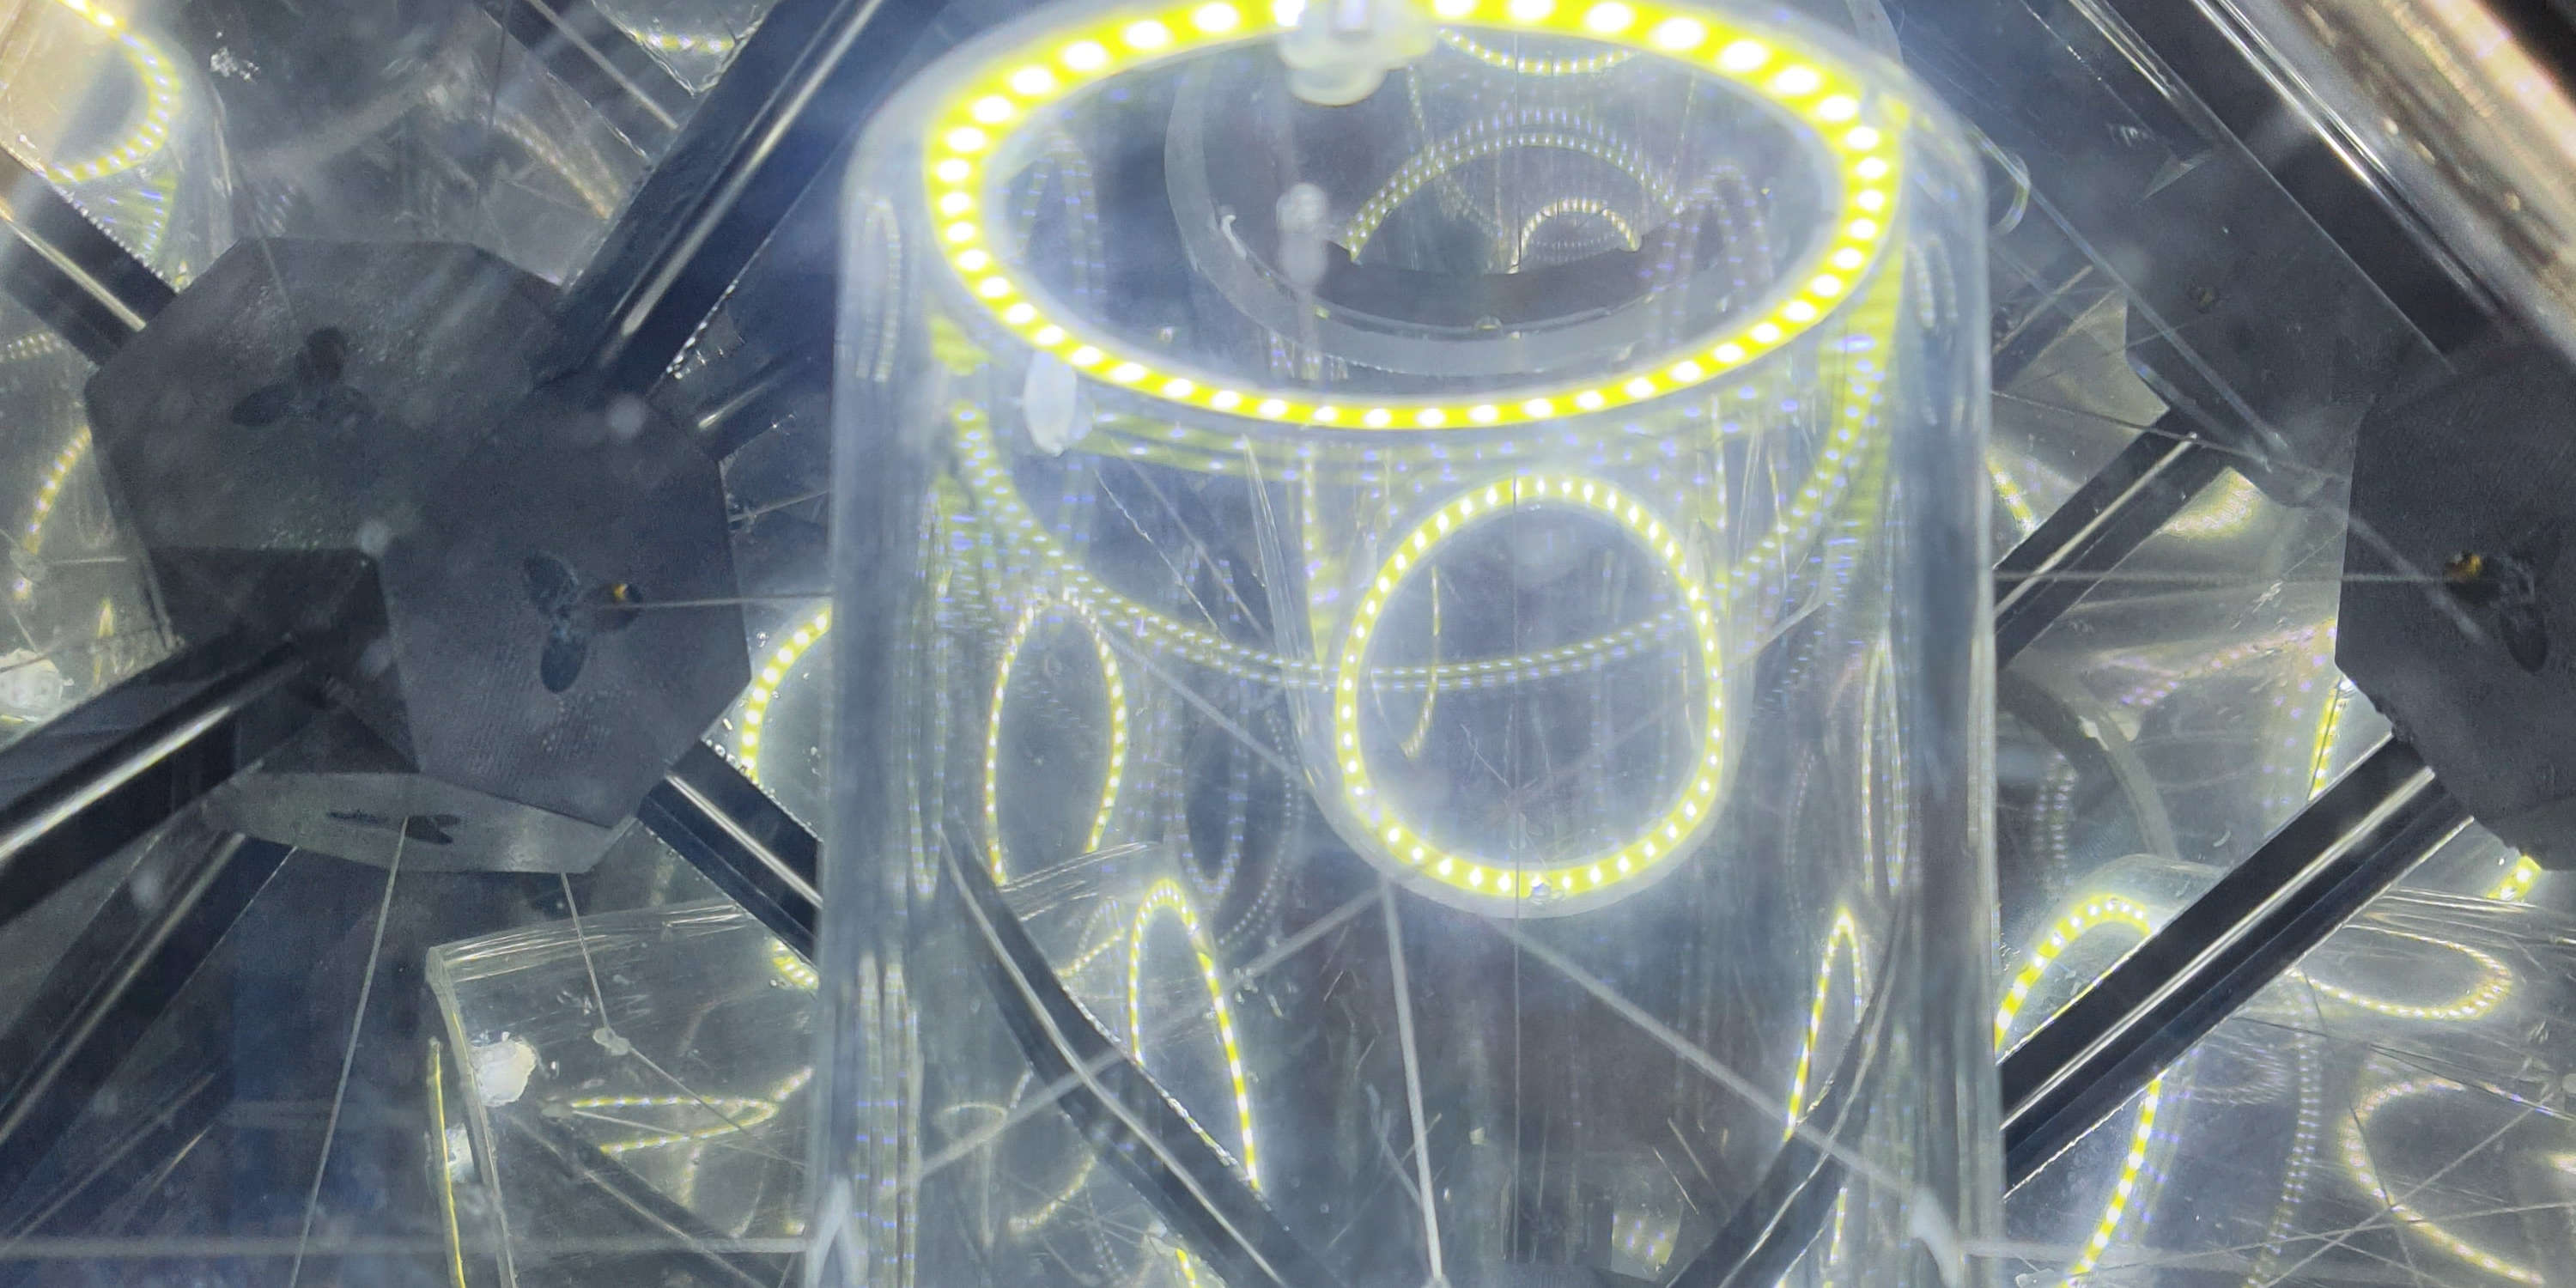
I've almost certainly forgotten something, so feel free to email me for clarification (or if you want me to build you something): construct@jaxter184.net
Build guide
Laser cut 3mm clear acrylic
- Export the laser cutting files from
06-panel.FCStd- Select the
Pagein the tree view - File -> Export (Ctrl+E)
- Filetype: Technical Drawing (*.svg)
- Save
- Select the
- Might need to be manually cleaned up
- 6 pieces
- Thanks to the friends who let me borrow their laser cutter
One-way tint film
- This particular product was shipped without a cardboard roll, or any outside protection, so there were some scuffs and wrinkles
- Is often adhesive backed, even if it doesn't seem like it
- Spritz down some water while applying, it makes bubbles easier to move, and doesn't affect the adhesive as far as I can tell
- Apply to acrylic a bit too large, then cut away the excess
- The holes are a little weird, but you can just roughly cut inside them with a craft knife
3D-printed corner brackets
- Export from
06-corner.FCStd - Print with the inner side down, outer corner facing up
- Get the ethernet hole version by setting the tip to
Pocket008(in the treeview right click menu asSet tip) - May need to use a drill to clean up the holes depending on your printer
- I used PETG, but most "regular" materials are probably fine
Bits and bobs
- Ethernet keystone jack
- LED Ring (80mm outer diameter)
- T Plates
- M3*8mm machine screws (to attach panels to corners)
- M5*8mm machine screws (for aluminum extrusion)
- M3 eye bolts
- M3*OD5mm*6mm Heat-set inserts
- M3 and M5 Slot T-nuts
- 2mm*125mm Steel rods
- ID80mm*100mm Acrylic tube
- TODO: drilling procedure
- 0.5mm cable
- Cable clamps (I just bought the smallest ones I could find)
- I also used crimp-style ones, but they require a special tool, so if you're just doing a one-off, it's probably better to just use the screw-style ones
- Aluminum extrusion
- TODO: lengths
TODO: document electrical crimes